Installing FFmpeg on Windows
FFmpeg is a powerful multimedia framework capable of handling various audio and video tasks. This guide will walk you through installing FFmpeg on Windows.
Prerequisites
Before starting the installation, ensure you have:
- A Windows-based system (Windows 10 or later)
- Administrative privileges on your system
- Sufficient disk space (approximately 100MB)
Installation Steps
Step 1: Download FFmpeg
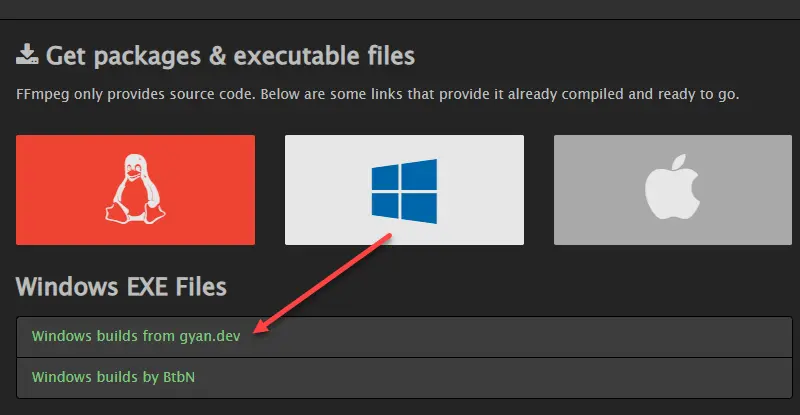
- Visit the official FFmpeg download page
- Under “Get packages & executable files”, click on the Windows icon
- Select the appropriate version for your system (typically the latest release)
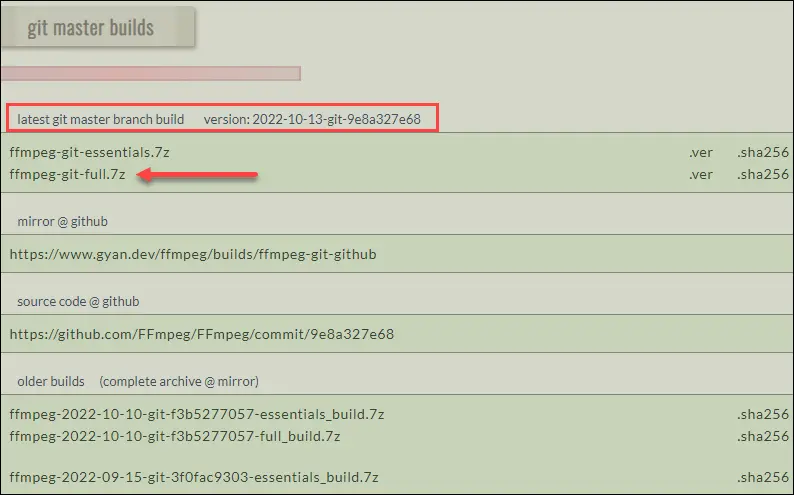
:::note The FFmpeg builds may come with various options. For most users, the standard build will suffice. :::
Step 2: Extract Files
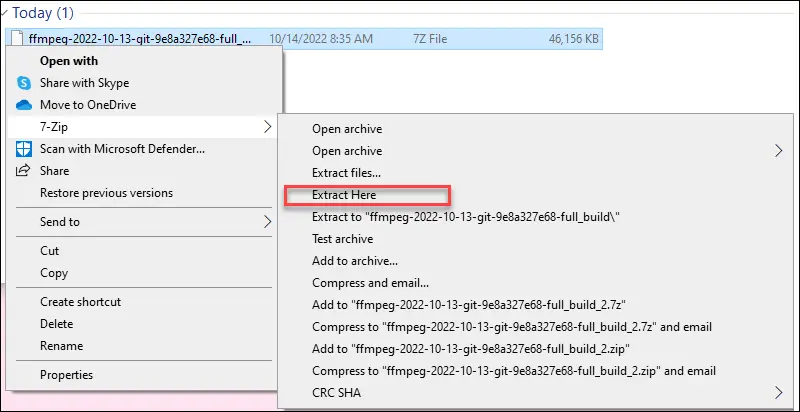
- Locate your downloaded FFmpeg zip file
- Right-click the zip file and select “Extract All”
- Choose a destination folder for extraction
- Remember the path where you extracted the files


Step 3: Add FFmpeg to PATH
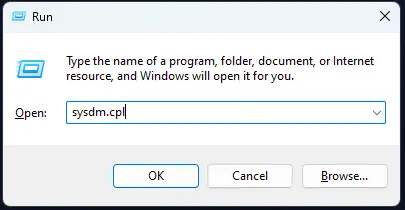
- Open Windows System Properties:
- Press
Windows + R - Type
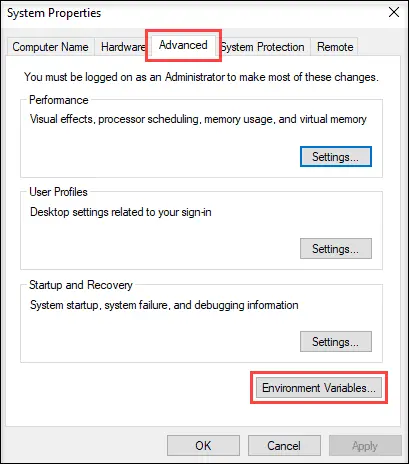
sysdm.cpland press Enter - Navigate to the “Advanced” tab
- Click “Environment Variables”
- Press
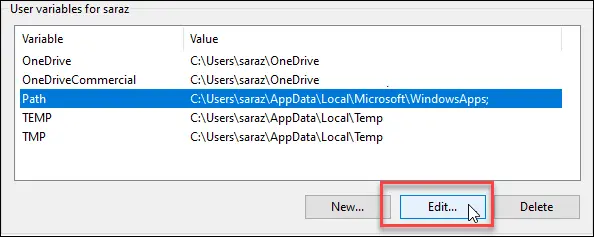
- Under “System Variables”, find and select “Path”
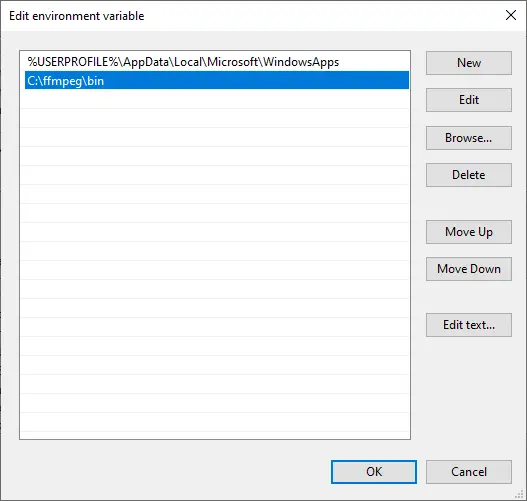
- Click “Edit”
- Click “New”
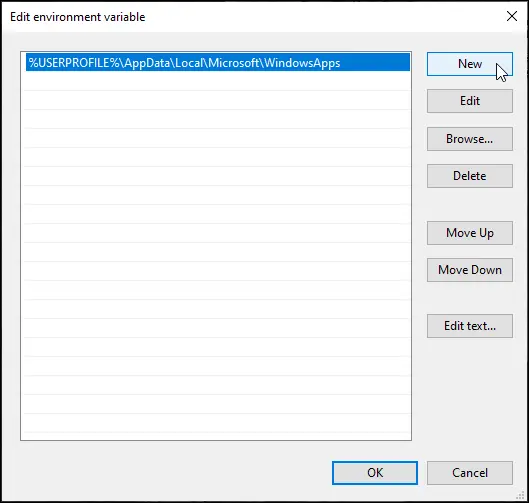
- Add the path to your FFmpeg
binfolder- Example:
C:\FFmpeg\bin
- Example:
- Click “OK” to close all windows
Step 4: Verify Installation
- Open Command Prompt or PowerShell
- Type the following command:
ffmpeg -version - If installed correctly, you should see FFmpeg version information

Troubleshooting
If you encounter the “‘ffmpeg’ is not recognized” error:
- Ensure you’ve added the correct path to the Environment Variables
- Try restarting your system
- Verify that the path contains the
ffmpeg.exefile
Next Steps
With FFmpeg installed, you can now:
- Convert video formats
- Extract audio from videos
- Compress media files
- Process and manipulate multimedia content
:::tip Keep your FFmpeg installation up to date to access the latest features and security updates. :::